How to fabricate branches - Assembling the Assembled
21/06/09 20:41
Assembling The Assembled-
About a day later, when the gorilla glue has dried, the branch pieces are ready to assemble together.
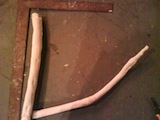
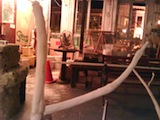
Here we have one 3-piece large branch and a 2-piece small branch:
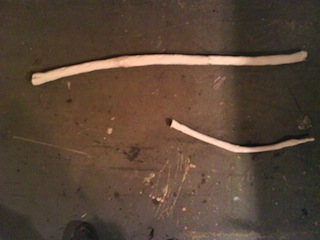
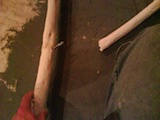
Here I am figuring out exactly where the smaller piece will go:
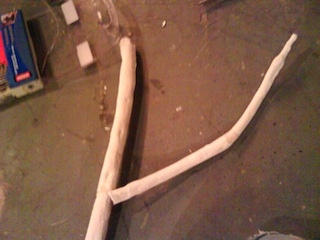
Once again, just kind of plan where you want to set the branches on the trunk base. This will help make the attaching them later much easier.
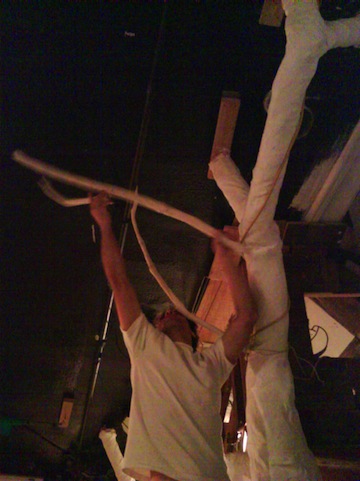
Mark position and angle with a sharpie. Cut the smaller branch accordingly.
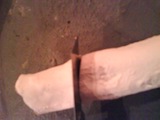
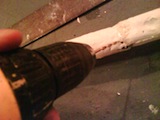
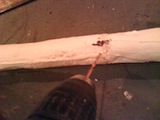
Drill two holes 3/4” apart.
Take a ceiling tie and bend into a ‘u’.

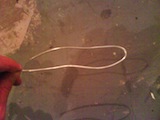
Insert ends of ‘u’ into branch, about 4” deep, 4” protruding out.
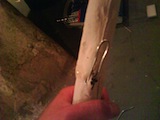
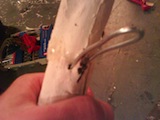
Cut a piece of pvc (plastic pipe) at the same angle that you cut the small branch.
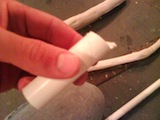
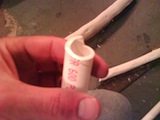
The pipe must be small enough to fit in the small branch and over the 'u'.
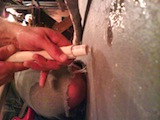
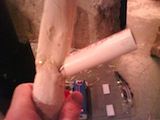
Then use some Gorilla Glue to attach the piece to the inside of the branch.
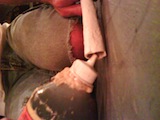
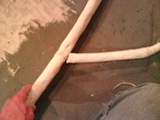
Let that set before filling them with foam and finally gluing the pieces together.
Next on the agenda: Filling with foam!
About a day later, when the gorilla glue has dried, the branch pieces are ready to assemble together.
Here we have one 3-piece large branch and a 2-piece small branch:

Here I am figuring out exactly where the smaller piece will go:

Once again, just kind of plan where you want to set the branches on the trunk base. This will help make the attaching them later much easier.

Mark position and angle with a sharpie. Cut the smaller branch accordingly.


Drill two holes 3/4” apart.


Take a ceiling tie and bend into a ‘u’.

Insert ends of ‘u’ into branch, about 4” deep, 4” protruding out.


Cut a piece of pvc (plastic pipe) at the same angle that you cut the small branch.


The pipe must be small enough to fit in the small branch and over the 'u'.


Then use some Gorilla Glue to attach the piece to the inside of the branch.


Let that set before filling them with foam and finally gluing the pieces together.


Next on the agenda: Filling with foam!
0 Comments